If you only send small amounts of e-mail, it is possible to use a Google Gmail server for your mailings when you use our e-mail delivery application MultiMailer. However, some functions in MultiMailer are disabled because they require our built-in e-mail server to work, but using a Google Gmail server is in any case possible and may be suitable for small mailing lists. We will show below step-by-step how to do that:
1. Activate two-step verification in your Google account
The first thing you need to do is enable two-step verification in your Google account, if you haven’t already. It’s a relatively simple process, and below you’ll see what the steps are:
Show steps 2. A menu will now appear. Click there on the Manage your Google Account option. 3. A web page with options should now appear. There, click on the Security option. 4. At the Signing in to Google section, click on the 2-Step Verification option. 5. Click the Get Started button. 6. Enter the password for your Google account. 7. Enter a phone number to which Google will send a verification code (via SMS). 8. Click Next. 9. A verification code will now be sent via SMS to your phone. Enter it at Enter the code. 10. Click Next. Then click Turn On to activate the function.
You have now activated two-step verification for your Google account (e.g. your Gmail account). In the next section, we will show you how to retrieve a username and password for MultiMailer.
2. Get username and password from Google
Now you will get your username and a password for MultiMailer. The password is not the same one you use when you sign in to your Google account, but a different password that is created by Google at request. We will show below how to retrieve this password. The username for MultiMailer is the same as when you log in to your Google account.
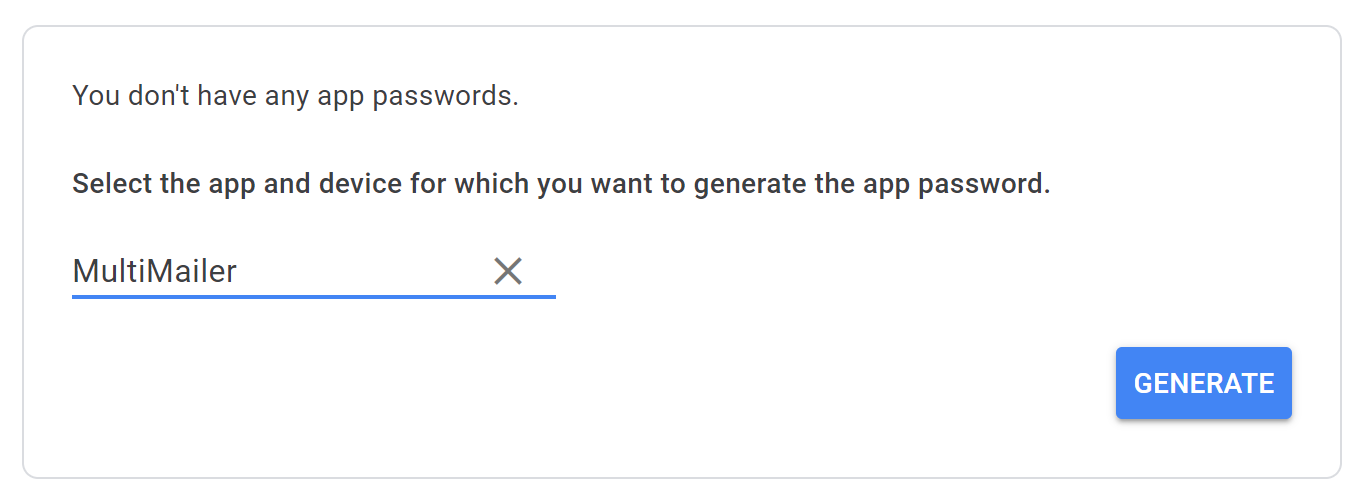
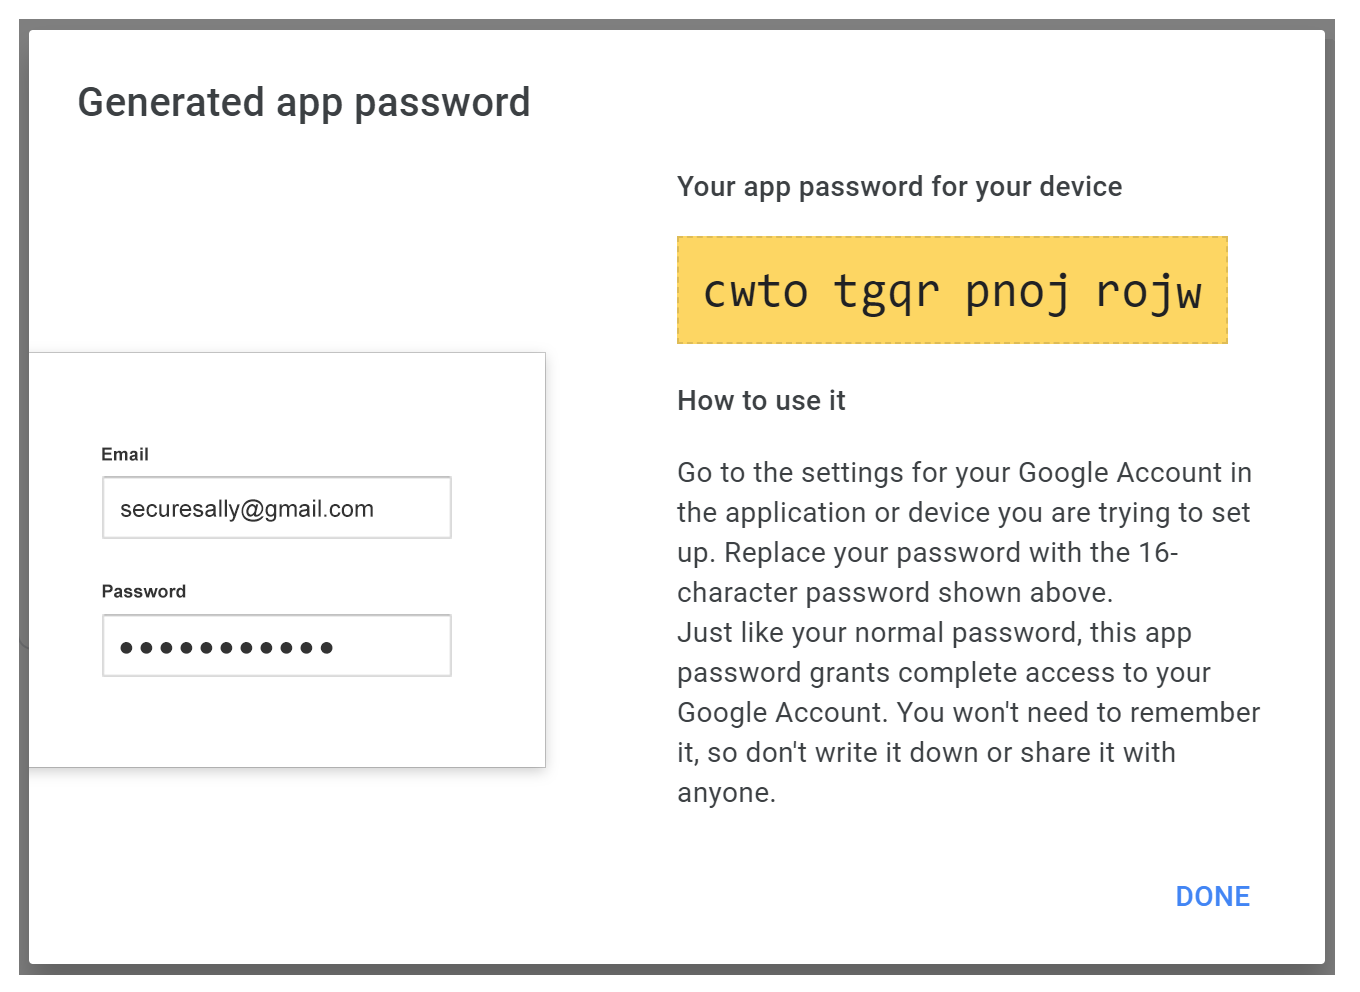
Show steps 2. The Security page should now appear. If not, open it. 3. Click on App passwords at Signing in to Google. 4. Enter your Google Account password again. 5. Click Select app. 6. Select Other (custom name). 7. Enter MultiMailer. 9. A password will now appear in a window. Copy it off. Paste it into Notepad.

8. Click the Generate button.

10. Click on Done when you have done it.
3. Specify username and password in MultiMailer
Now you must enter the correct username and password in MultiMailer. To do that, do the following:
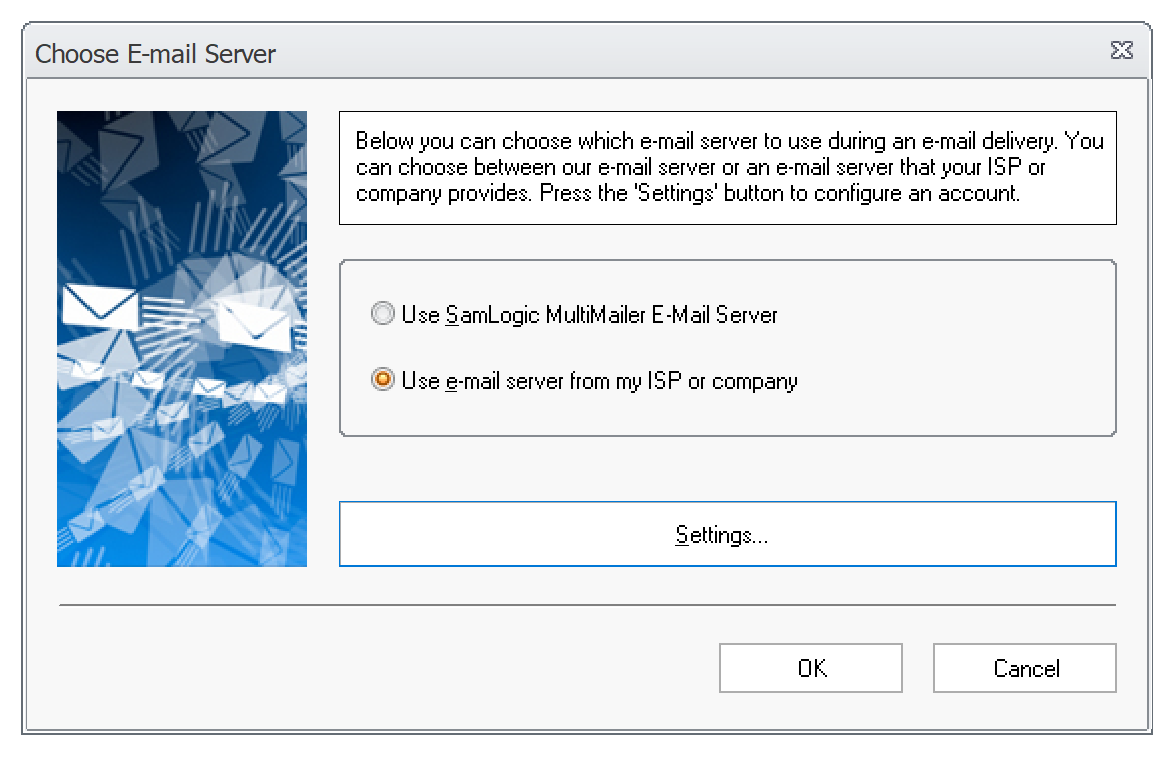
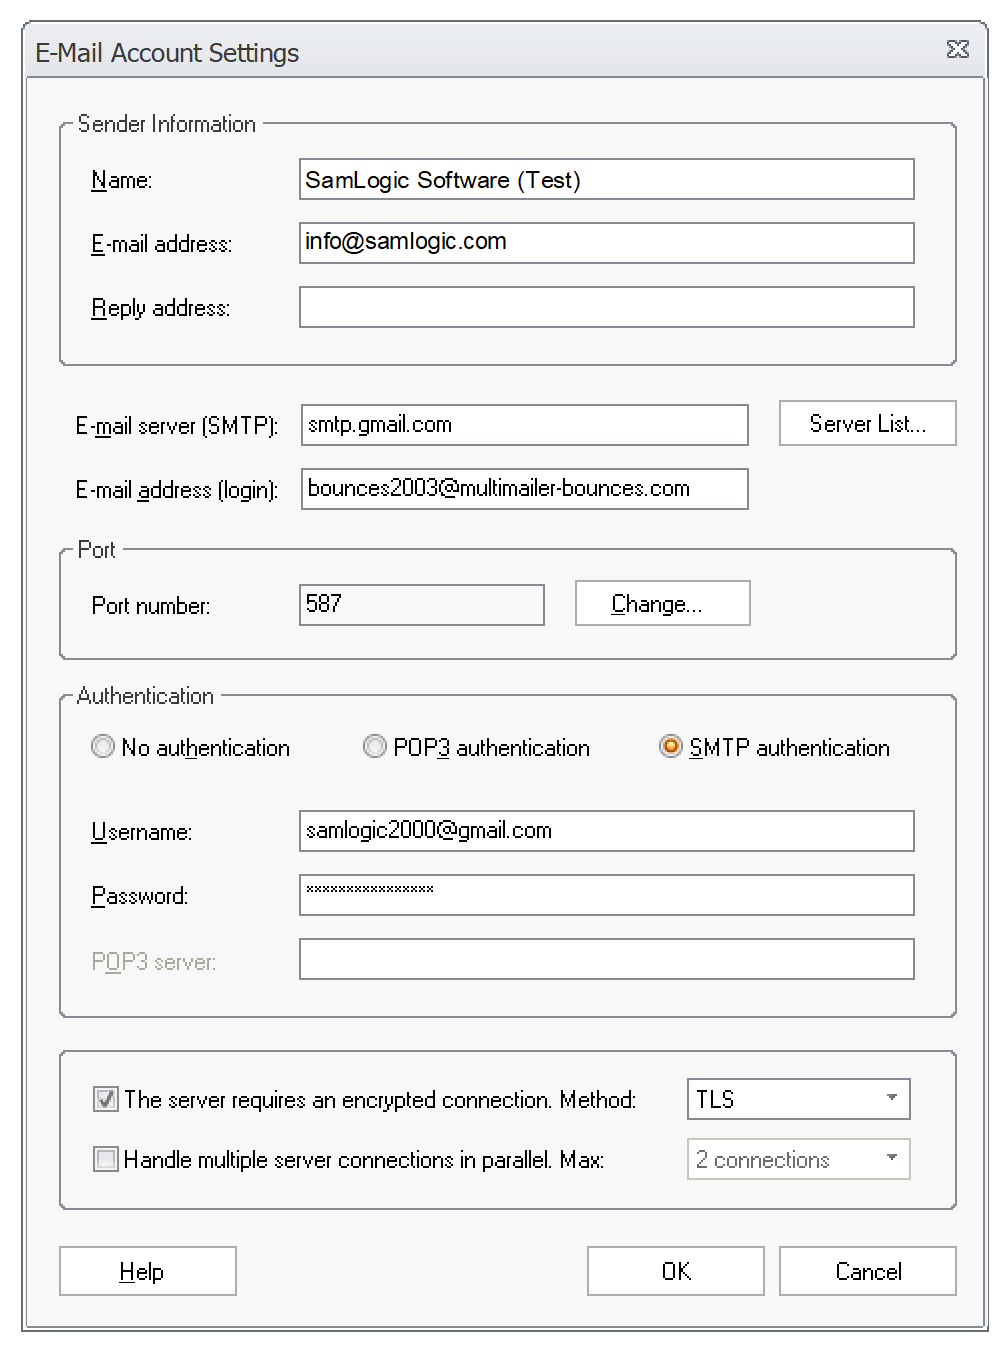
Show steps 2. Select the menu item Options – E-mail Account Settings. 3. Check the option Use e-mail server from my ISP or company. 5. The Email Account Settings dialog box will now appear. 6. In the dialog box, click on the Server List button. 7. Select the option Google: smtp.gmail.com (port 587). 8. At Username, enter the username/email address for your Google account. 9. At Password, paste the password you received in the previous section (see point 9).

4. Click the Settings button.

10. Click OK to close the dialog box. Click OK again.
Now you can use MultiMailer to send emails via your Google Gmail account. Note that Google has a limit on how many emails you can send per day. What the limit is depends on what kind of Google account you have.
