CD-Menu Creator 2014 has now been released

A new version of our menu designer tool SamLogic CD-Menu Creator has now been released. The name of the new version is SamLogic CD-Menu Creator 2014 and some of the new features in the new version are:

• Support for Microsoft Windows 8.1.
• Improved encryption functions.
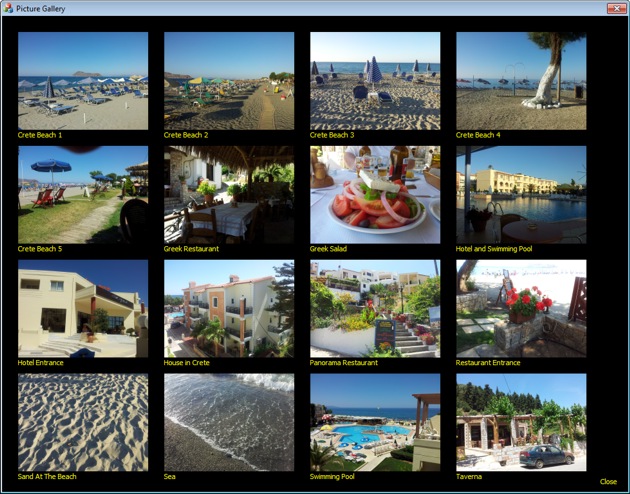
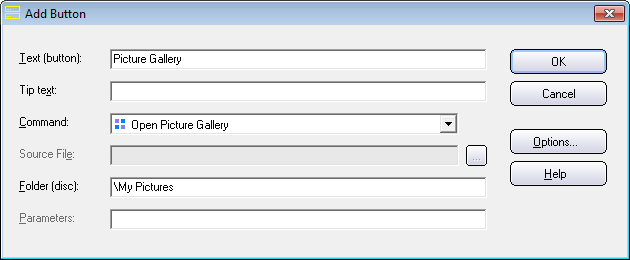
• A picture gallery, that shows all pictures in a folder in a special window.

A more detailed list with the new features is available on this page. In coming blog posts we will describe the new features in CD-Menu Creator 2014 in more detail.

Visual Installer 2014: How to change user interface

In the previous blog post we informed about Visual Installer’s new user interface and the possibility to change visual theme for the user interface. In this blog post we will show how to change visual theme for the user interface.

If you want to change the visual theme for the editor, follow these steps:

1. Start Visual Installer
2. Open the Special menu
3. Choose the Editor options menu item
4. Open the Application window’s style combo box

Application window's style

5. Select the style / theme that you want to use
6. Click OK

Below you can see some samples of the visual themes included in Visual Installer 2014:

STYLE: Theme Silver 1
Theme Silver 1

STYLE: Theme White 1
Theme White 1

STYLE: Theme Blue 1
Theme Blue 1

Visual Installer 2014: Run program as administrator

Sometimes a program must be run with administrator rights in the system. This gives the program more privileges, which sometimes is necessary to make a program function as expected. In Visual Installer 2014 you can set an installed program to run with administrator privileges in an easy way.

To make an installed program to run with administrator rights you can right-click on the program in Visual Installer’s file list and choose the Run as administrator menu item in the menu that is shown. Thereafter you can select the Run program as administrator option in the dialog box that appears and press OK (see picture below).

Run program as administrator

Visual Installer 2014: Post messages to Twitter

You can now send Twitter messages (tweets) directly from Visual Installer. We have added this functionality to Visual Installer 2014.

This is useful for example when you upload an update or upgrade of your software to your website using the built-in FTP function in Visual Installer. In the same time you can inform your customers about the new version of your software (including a short description, version number and a download link) via Twitter.

Below is a screen dump of the Send Message To Twitter dialog box in Visual Installer 2014. This dialog box is used to send tweets to Twitter. You can open this dialog box via the File menu in the Visual Installer editor.

Visual Installer now supports Twitter

More information about the Twitter function in Visual Installer is available on this web page.

Visual Installer 2014: New variables and new script commands

We have added 3 new variables and 2 new script command to Visual Installer 2014. The variables can be used to handle shared files and shared settings, and the script commands can be used to change permissions for folders on the hard disk during the installation process.

THREE NEW VARIABLES
Three new variables were added to Visual Installer 2014. Below they are described briefly:

%SHAREDDOCUMENTS : Can be used to install shared documents.
%PUBLICDIR : Can be used to install shared files (documetns, images, videos etc.).
%APPDATADIR_ALLUSERS : Can be used to install shared settings.

TWO NEW SCRIPT COMMANDS
We have also added two new script commands to Visual Installer 2014. They can be used to change permissions for hard disk folders. Below are the script commands described briefly:

SETPERM : Changes permissions for an existing folder on the hard disk.
XCREATEDIR : Creates a folder on the hard disk with specified permissions.

More detailed information about the script commands is available on this information page and on this blog post. The picture below shows how the SETPERM command can be used to set read, write and execute permissions for a hard disk folder during the setup:

SETPERM

New version: SamLogic Visual Installer 2014

Visual Installer 2014We have now released a new version of our easy-to-use setup tool SamLogic Visual Installer. The name of the new version is SamLogic Visual Installer 2014 and the version number is 10.0. Some new features in the new version are:

– Support for Microsoft Windows 8.1.
– Support for Microsoft Office 2013.
– Support for AutoCAD 2013 and AutoCAD 2014.
– Updated user interface.
– Permission settings can be changed for hard disk folders during the setup process.
– Installed programs can be set to run with administrator privileges.
– New variables that handles shared files and shared settings are included.
– Support for Twitter (you can send tweets directly to Twitter).
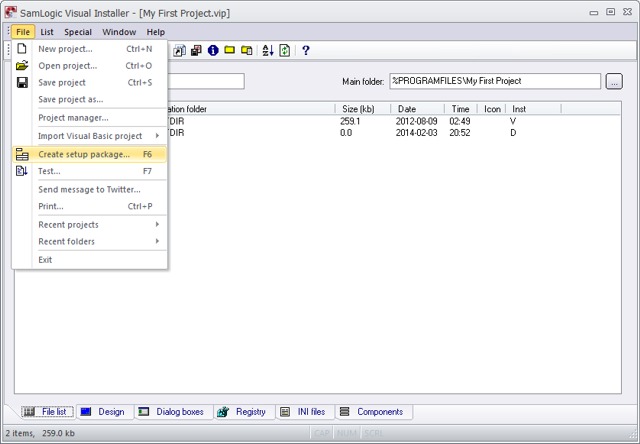
– The ‘Create setup package’ dialog box has been improved (e.g. better support for USB drives).
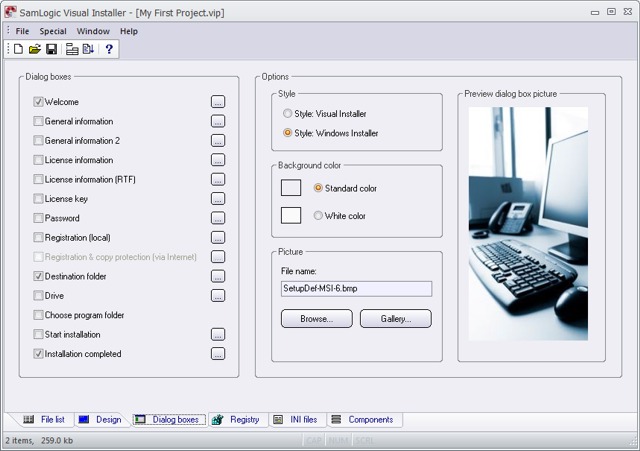
– New pictures for the setup wizard (installation dialog boxes) has been added.

A detailed list with new features in Visual Installer 2014 is available on this web page.

In the following blog posts we will describe some of the new features in SamLogic Visual Installer 2014 in detail.

Improved duplicate management in MultiMailer 2013

In MultiMailer 2013 (version 8.0.16 or later), we have improved the duplicate management in mailing lists. By pressing the F8 key or by selecting the menu item Edit – Select Duplicates MultiMailer displays now, in addition to the usual selection, two arrows in front of the duplicate contacts it founds (see picture below).

In previous versions of the program, MultiMailer highlighted duplicates only with regular (inverted) marks. However, this marking disappeared once you clicked on and selected another contact from the list. In order to get the duplicate marking back, you had to press the F8 key again. With the new duplicate management function, you can always see duplicates marked and you do not need to press F8 more than once. The picture below shows the way duplicates are marked when no contacts are selected in the list:

The new duplicate management function makes it easier to remove duplicates of contacts and to choose which duplicate to delete. You can quickly scroll through the list and if you see two duplicates after each other both marked with an arrow, you can easily choose which contact is to be retained and which is to be removed. To remove it, you simply highlight it and press Delete. Then you can continue scrolling to see if there are more duplicates on the list.

Quick method still available
If you only have e-mail addresses in your mailing list, it is not hard to decide which contact should be deleted. There is a faster method for removing such duplicates and that is to simply press F8 and directly after that Delete. Then all the duplicates will be erased from the mailing list in a single operation.

When MultiMailer marks duplicates in your mailing list, it never highlights the first instance of an entry, but only its duplicate copies. That is why pressing F8 and Delete quickly removes only duplicate copies. However, if your mailing list contains more data than just email addresses, you should go through the duplicates one by one to see which entry you actually want to keep in the list.

Number of duplicates is now displayed in the application’s status bar
MultiMailer 2013 shows you now the number of duplicates found on the list at the bottom of the application’s status bar (see image below):