![]() We have now released a new version of our installation tool Visual Installer. The name of the new version is SamLogic Visual Installer 2022 and the version number is 12.0. Some new features in the new version are:
We have now released a new version of our installation tool Visual Installer. The name of the new version is SamLogic Visual Installer 2022 and the version number is 12.0. Some new features in the new version are:
![]() • Supports the new Windows 11.
• Supports the new Windows 11.
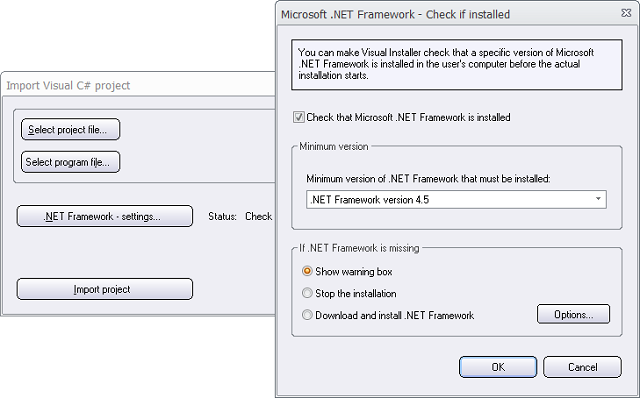
• Supports Visual Studio 2022 (Visual Basic 2022 + Visual C# 2022).
• Supports AutoCAD 2021 and 2022.
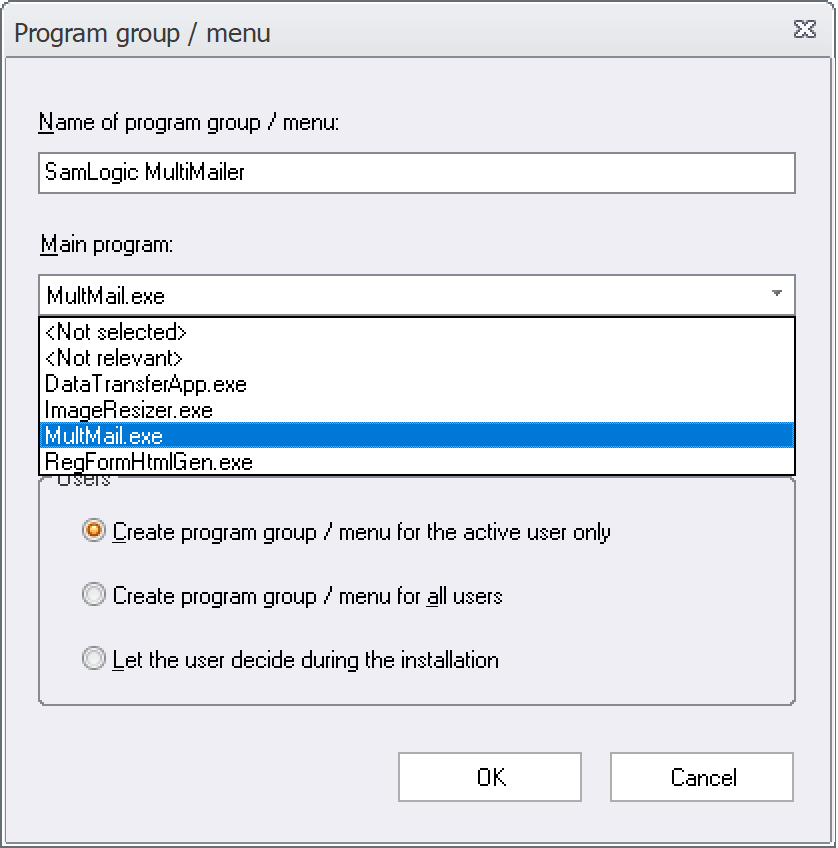
• If you install many shortcuts you can now choose which shortcut will be most featured.
• All binary files has been code signed with a digital certificate from Sectigo.
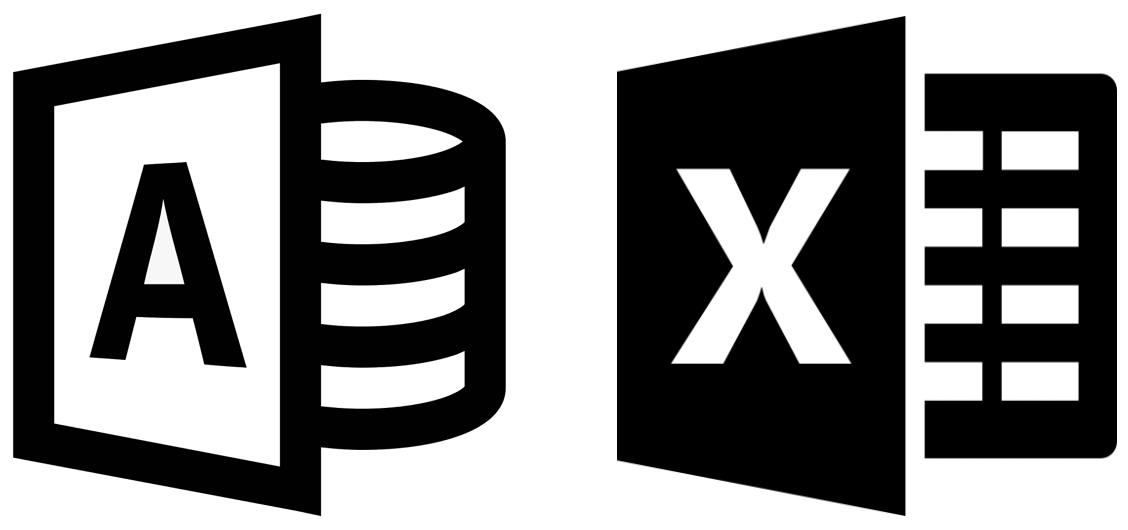
• New conditions in the script language than handles Microsoft Access and Microsoft Excel.
• New script commands for uninstallation of shortcuts (will give you more flexibility).
• New file functions in the “File list” tab in Visual Installer’s editor.
• The installer displays more information to the end-user during the registration process.
• You can now specify a minimum size in pixels for your installation window.
• There is now an Enterprise version of Visual Installer available – with even more functions!
A detailed list of new features in Visual Installer 2022 is available on this web page.
 In
In 
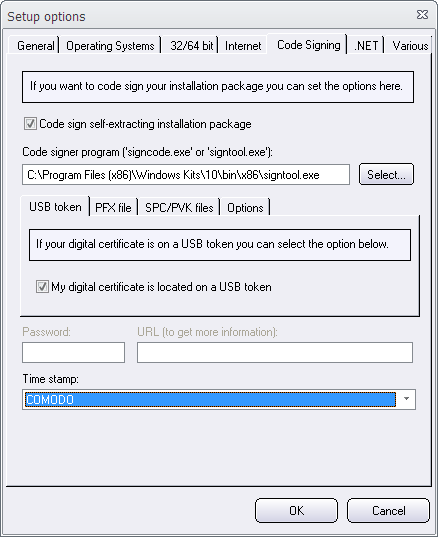
 Nowadays it is very important to code sign installation packages. This increases the security and gives less warning messages in Windows and in web browsers.