![]() You can now in CD-Menu Creator set an absolute position for a title, subtitle and button group title. In the latest update of CD-Menu Creator we have added this functionality.
You can now in CD-Menu Creator set an absolute position for a title, subtitle and button group title. In the latest update of CD-Menu Creator we have added this functionality.
Normally the X and Y position of a title, subtitle and button group titles are set automatically by CD-Menu Creator. But now you can set the coordinates for these objects manually. This is useful if you really want to have total control of these objects’ positions in a menu window.
How to set coordinates
To set coordinates for a title, subtitle and button group titles, you can add a prefix before the actual title text. The syntax is the following:
[X,Y] My Title
Where X specifies the X position of the title and Y specifies the Y position of the title (in pixels). Below is an example where X and Y has been replaced with numerical values:
[10,50] My Title
In the example the X position is set to 10 pixels and the Y position is set to 50 pixels.
When you add coordinates to a title, the coordinates must be set between brackets, “[” and “]”, and the X coordinate and the Y coordinate must be separated with a comma (“,”). Like this:
[20,80]
The actual title must then be placed after the ending bracket. For example:
[20,80] My menu title
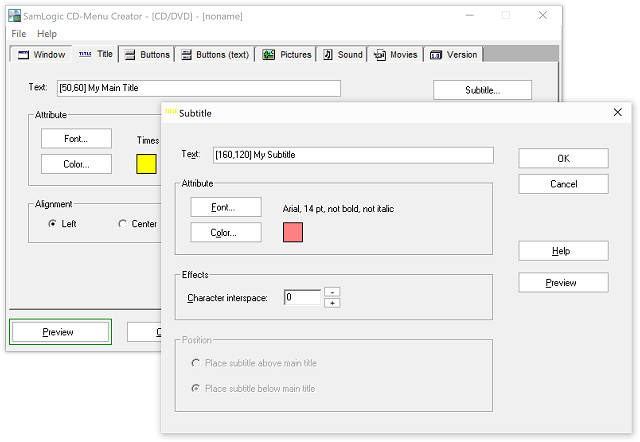
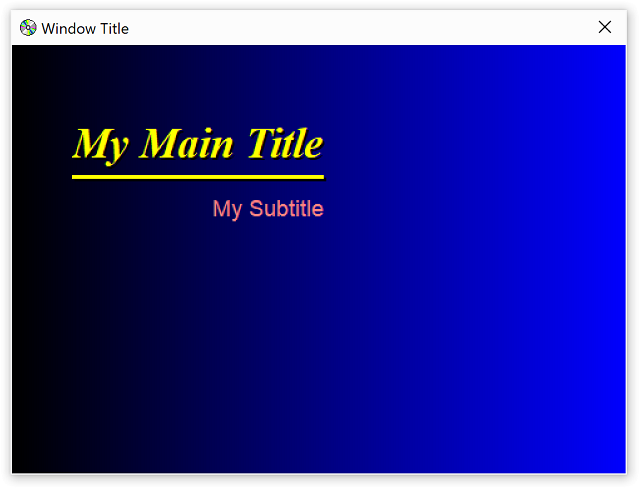
See also the picture below for an example. The main title coordinates have been set to [50,60] and the sub title coordinates have been set to [160,120]:

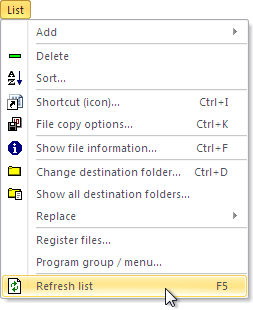
Also button’s positions can be set in this way
There is already functionality in CD-Menu Creator to set absolute positions for buttons (via the Button Options dialog box) but this new method can also be used for buttons, if you prefer it and want to be consistent with how to set coordinates for objects.

 Did you knew that there are tips & tricks pages available for our programs? In the tips & tricks pages we show how to use the software in different circumstances, and we describe some technical details about the programs that are not found in the program’s User’s guides. The tips are in step-by-step format which makes them easy to follow. Many of the tips contain images (screen dumps etc.), and some of the tips have also informative video clips that demonstrate the tip.