If
you want to change a table's properties afterwards, for example
change the number of rows or columns, or change the background
color or frame color, it is easy to do so.
Below are two tips that show you how to do it. First, a tip
showing how to add one or more rows to a table. Next, a tip
showing how to change the background color of a table.
A tip showing how to insert a new table in a newsletter/document
can be found on this
tip page.
|
To add one or more rows
to an existing table: |
1. Click anywhere in the table, so that the text cursor
flashes inside the table.
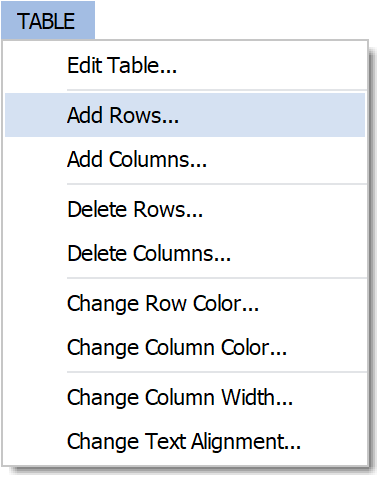
2. A new menu called TABLE should now appear in
MultiMailer's menu bar (at the top, between OVERVIEW and
TOOLS). In this menu, select the menu option Add Rows
(see image below):
3. The following dialog box should now appear:
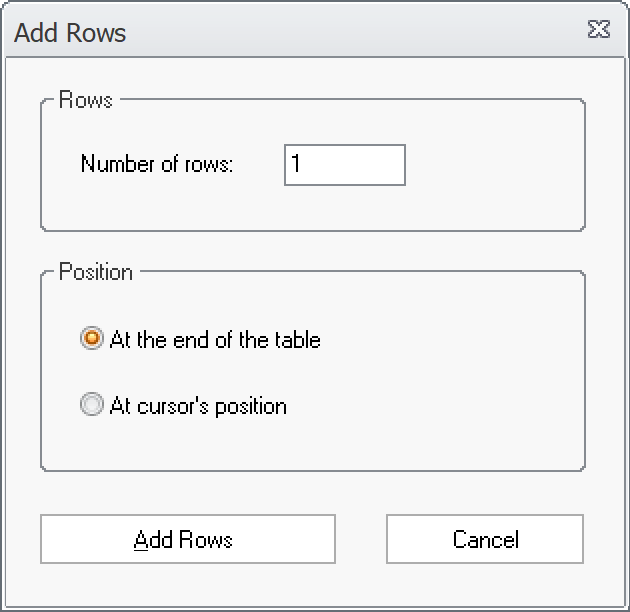
4. In this dialog box, you can specify the number of rows
with which the table should be expanded. You can also choose
whether the rows should be inserted last in the table or at the
cursor position in the table.
5. Click the Add Rows button to expand the table
with additional rows.
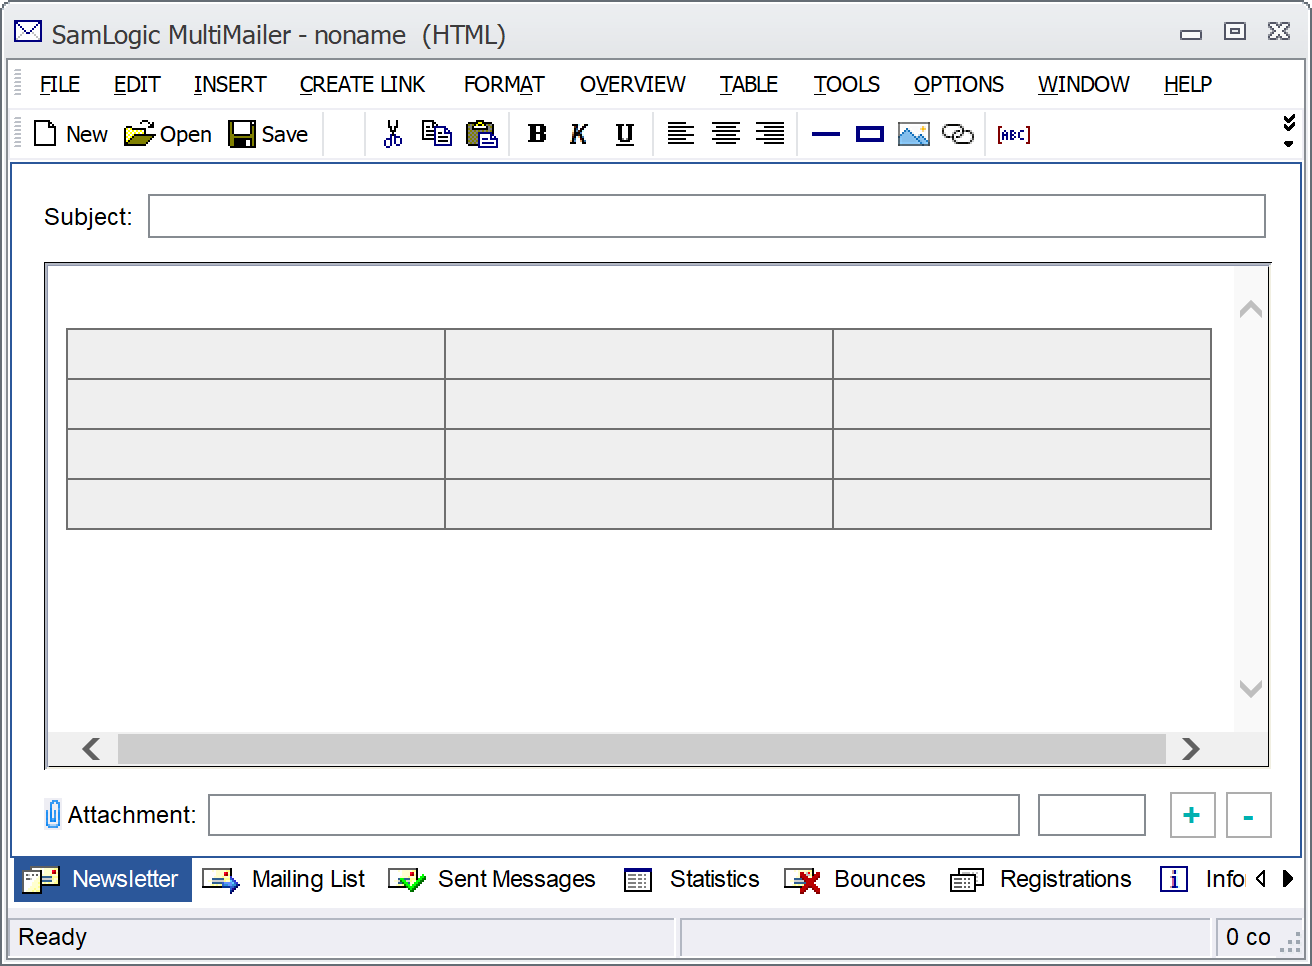
In the picture above, the table has been expanded with a new
table row.
|
To change the background
color of a table: |
1. Click anywhere in the table, so that the text cursor
flashes inside the table.
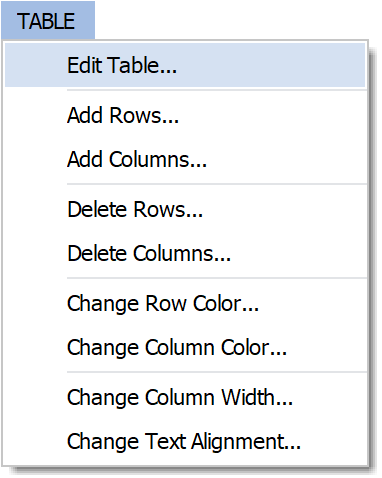
2. A new menu called TABLE should now appear in
MultiMailer's menu bar (top). In this menu, select the menu
option Edit Table (see image below):
3. The following dialog box should now appear:
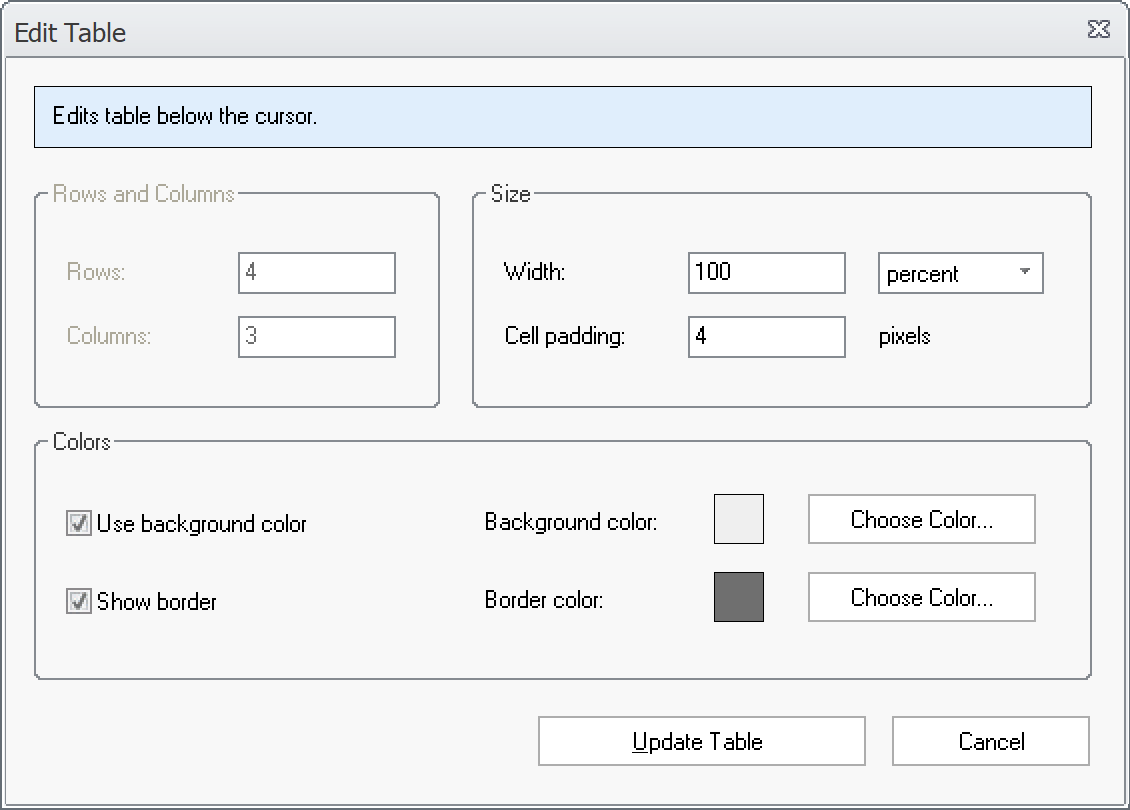
4 Click the Choose Color button to the right of
Background color.
5. Choose a background color in the color picker.
6. Click the Update Table button to update the
table.
7. The image below shows what it might look like when the
background color has been updated:
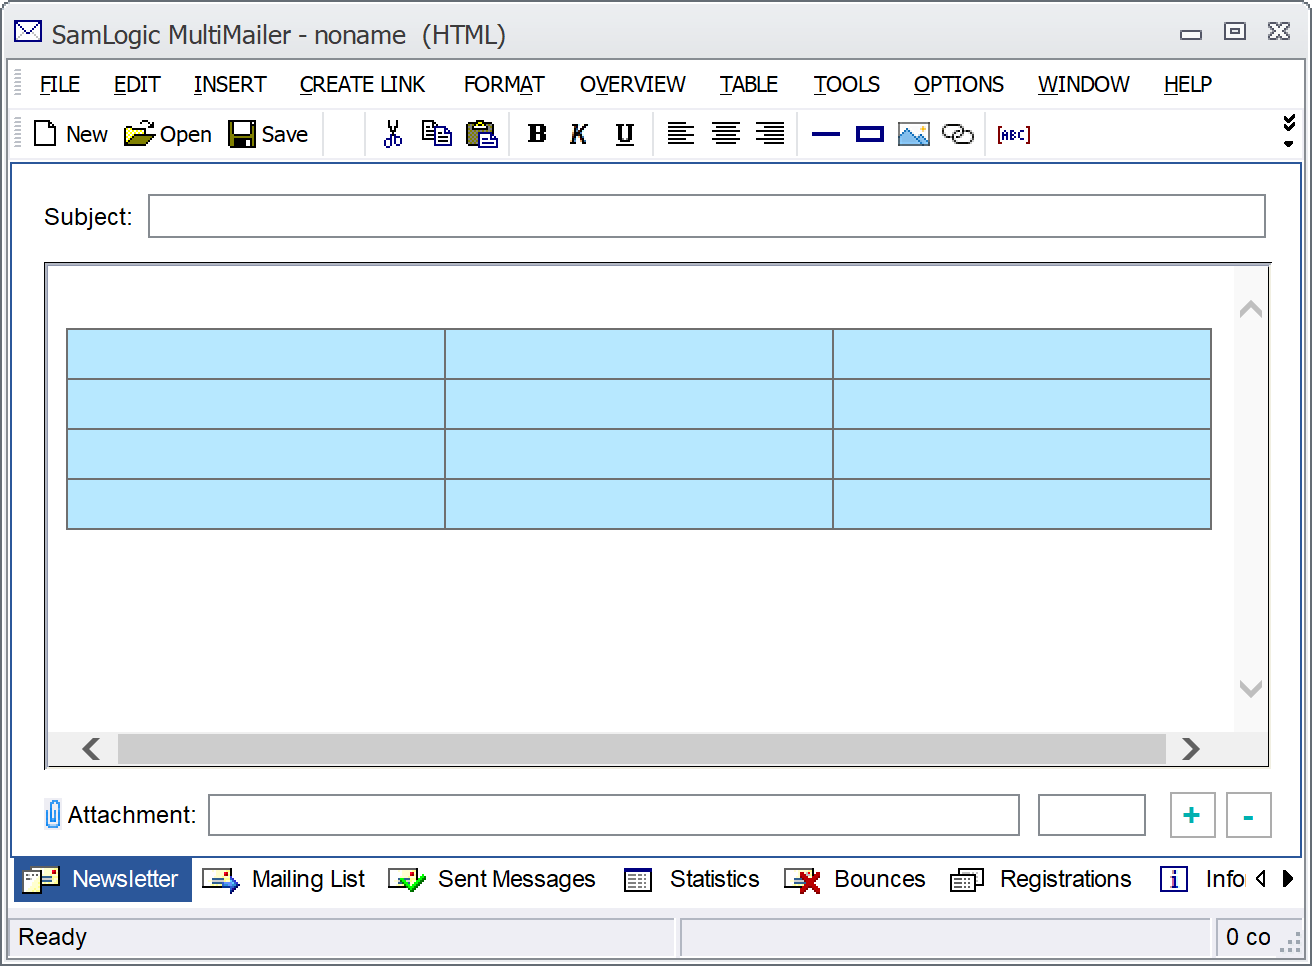
The background color has been changed from light gray to light
blue.
Additional properties you can change
The tips below
show how to change the width and text alignment of table cells
after the table is created:
 How
to change width for a column in a table How
to change width for a column in a table
 How
to change text alignment for a cell in a table How
to change text alignment for a cell in a table
|